
How to use the Hypervolt Installer App
Charger Selection
Once you have installed and powered on a new charger, stand within 5m of the charger and ensure you have Bluetooth enabled on your mobile device before starting the application.
For security reasons, if Bluetooth is not used within 5 minutes of connecting it will disabled. You will need to powercycle the charger to re-enable Bluetooth.
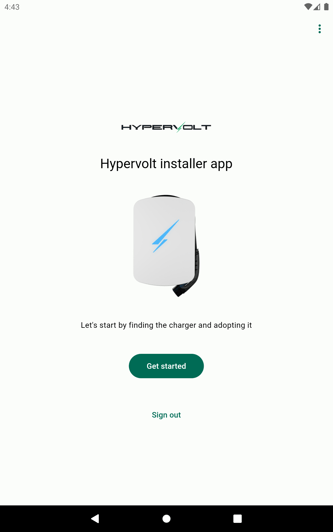
When starting the application, you should see this screen which allows you to start scanning for a nearby charger.
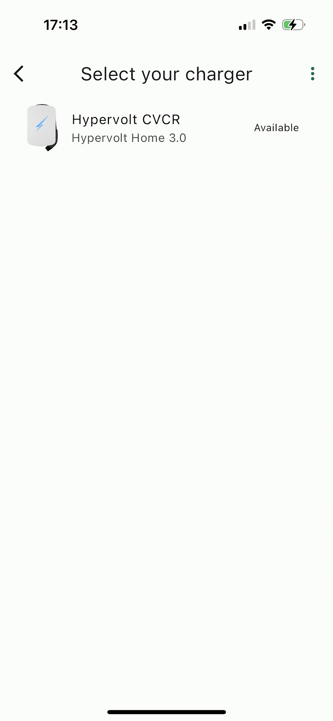
Once the charger is found, it will appear as a selectable item on this screen. Tap on the name of your charger in the list to start the adoption process.
Adopting the charger
After tapping the charger the app will take you through 3 steps to adopt the charger and get it online:
- Connecting to the charger with bluetooth.
- Adopting the charger to your logged in account. This needs to be done with your account, and you’ll hand off to the customer after setup and testing are complete.
- Establishing a network connection. If there is no wired connection, you can tap [select network] to set up a new connection or press [change network] to change the network settings.
WiFi setup
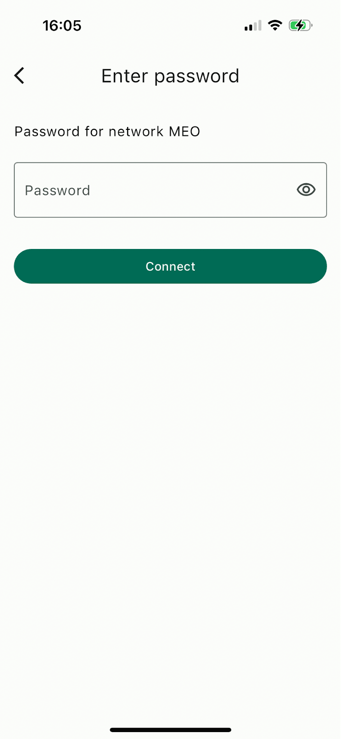
If you are setting up or changing the WiFi network, the app will ask the charger to scan for local wifi networks. Once the customer’s WiFi network appears in the list, tap on it to select the network and enter the password.

Enter the password and press [connect]
The app returns to the adoption screen.

Wait for the app to report that the connection succeeded and press [next] to go to the next screen.
Location Setup
Once the charger is connected to the customer's home network, you'll be asked to set up a few basic details about the location.
First, you'll be asked to set a country, timezone, and currency - this will default to the UK but we support other countries and timezones (example below)

After configuring the timezone and currency settings, you'll be asked for some details about the customer's home battery system.

If the customer has a home battery system and you've installed the second CT clamp, it's particularly important to answer these questions, as we'll use this information to test the connection and enable additional functionality in their Hypervolt app.
Test page
Once you've finished the setup, you will be shown a summary of the installation. The app will display error messages if any measurements indicate that there may be a problem.
Please double-check anything that is flagged up at this point in the installation process, including the CT clamp installation.
If we detect energy flowing back into the grid, we will flag this as a potential error; unless the user has a home generation system active during the test we'd recommend reversing the clamp.
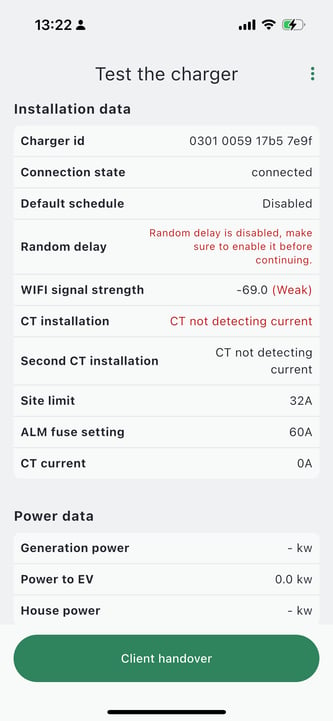
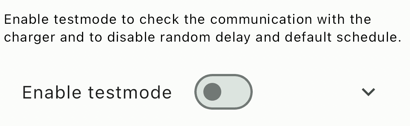
Once you have finished these basic checks, you can enable Test Mode to make it easier to proceed with your final electrical safety checks. Test Mode disables the random delay for charging sessions, makes the leds blink and disables the default schedule. This makes it easier to confirm that the charger is functioning properly, and speeds up the testing process.
If you do not enable Test Mode before testing, bear in mind that our chargers are configured by default to have a delay of up to 600 seconds (per EVSCP regulations) before starting a charging session after an EV has been plugged in.
Do not forget to disable Test Mode before handing off the installation to the client.
Once you have finished testing, and disabled Test Mode, you can move to the final step by clicking [enter client details].
Hand off to the client

With version 2.2 or later, you have more options for the final client handover.
- If the owner is physically present and has the Hypervolt app installed, they can simply scan the QR code with their phone and follow the instructions to take control of the charger
- You can press the Share link button to share the handover link via WhatsApp, SMS, or any other messaging app on your phone natively
- You can enter the client's email address to email them a handover link
At this point, the client can use the link or QR code to take full control of their charger and get started!